This SharePoint add-in project is part of Collaboration Foundry's SharePoint webhook demonstration solution. It allows the webhook handler to read and update the SharePoint site in which the add-in is installed.
- Office 365 Multi Tenant (MT), SharePoint.
- An Office 365 account and SharePoint site into which you will install the add-in (the site the you want the webhook handler to read/update) over which you have administrative authority.
- The address at which your Azure webhook-handling app service function is located. (It does not yet need to be deployed.)
-
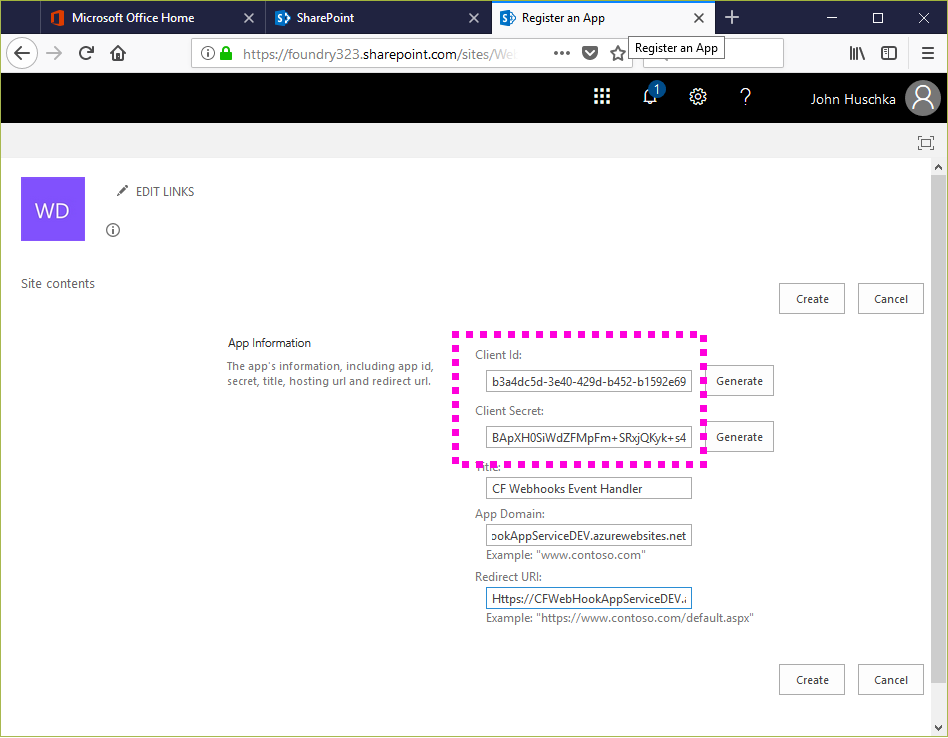
Within your SharePoint site collection navigate to _layouts/15/appregnew.aspx. Complete the App Information form, generating the Client ID and Client Secret; keying the Title; and supplying the App Domain (Azure app service web address) and Redirect URL (“HTTPS://” + Azure app service web address). Your form should look like this:
-
Click the Create button on the form to complete the add-in registration. Make sure you record the Client Id and Client Secret because you will need them later in the deployment process.
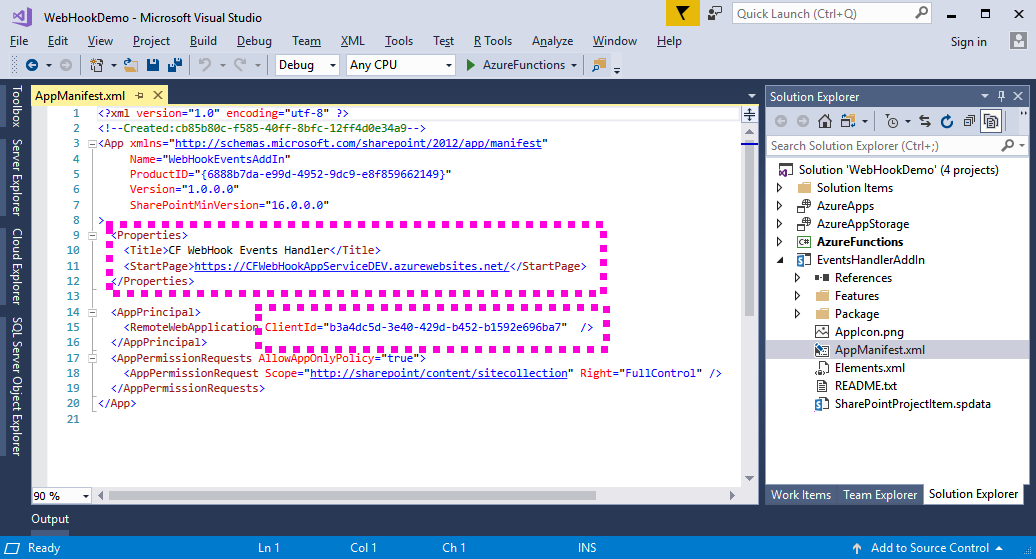
- Within the project, right-click on the AppManifest.xml file and click on View Code.
- Edit the file, providing the Azure app service address as well as the ClientID generated by the add-in registration. Your form should look like this:
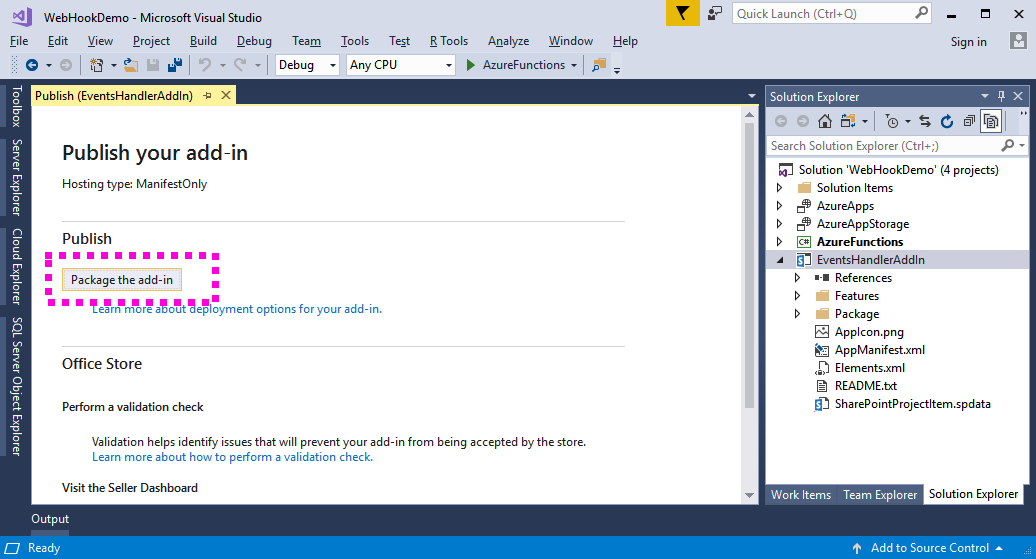
- Right-click on this project in Visual Studio and select the Publish menu option. Visual Studio's publish form will appear, looking like this:
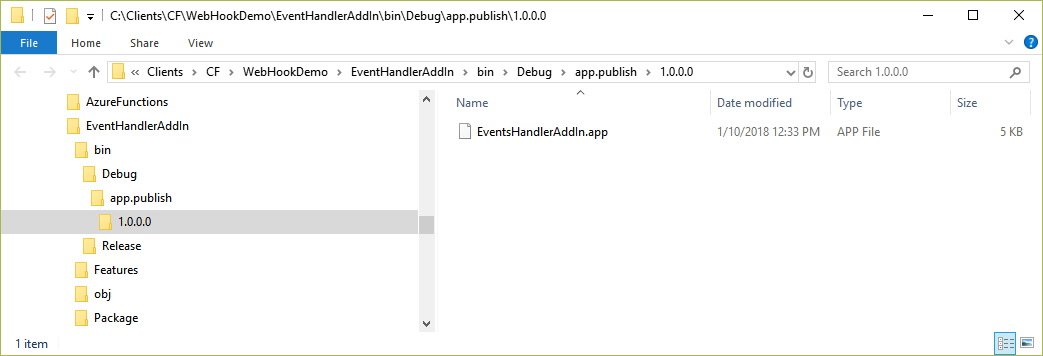
- Click on the Package the add-in button. Visual Studio will generate a .app file for the add-in and open Windows Explorer, showing you the file's location:
Here, you have one of two standard SharePoint approaches:
- If your SharePoint site collection is configured for development, you can directly upload the generated .app file to the Apps in Testing library within the site collection.
- If you wish a more production-like deployment, you can use an add-in catalog. See “How to publish provider hosted app in SharePoint online” at http://bhanuprakashbysani.blogspot.com/2014/11/how-to-publish-provider-hosted-app-in.html.
Note that, when you install the add-in into your SharePoint site, it will request full control. Full control is required in order for the add-in to do self-renewal of the webhook subscription.
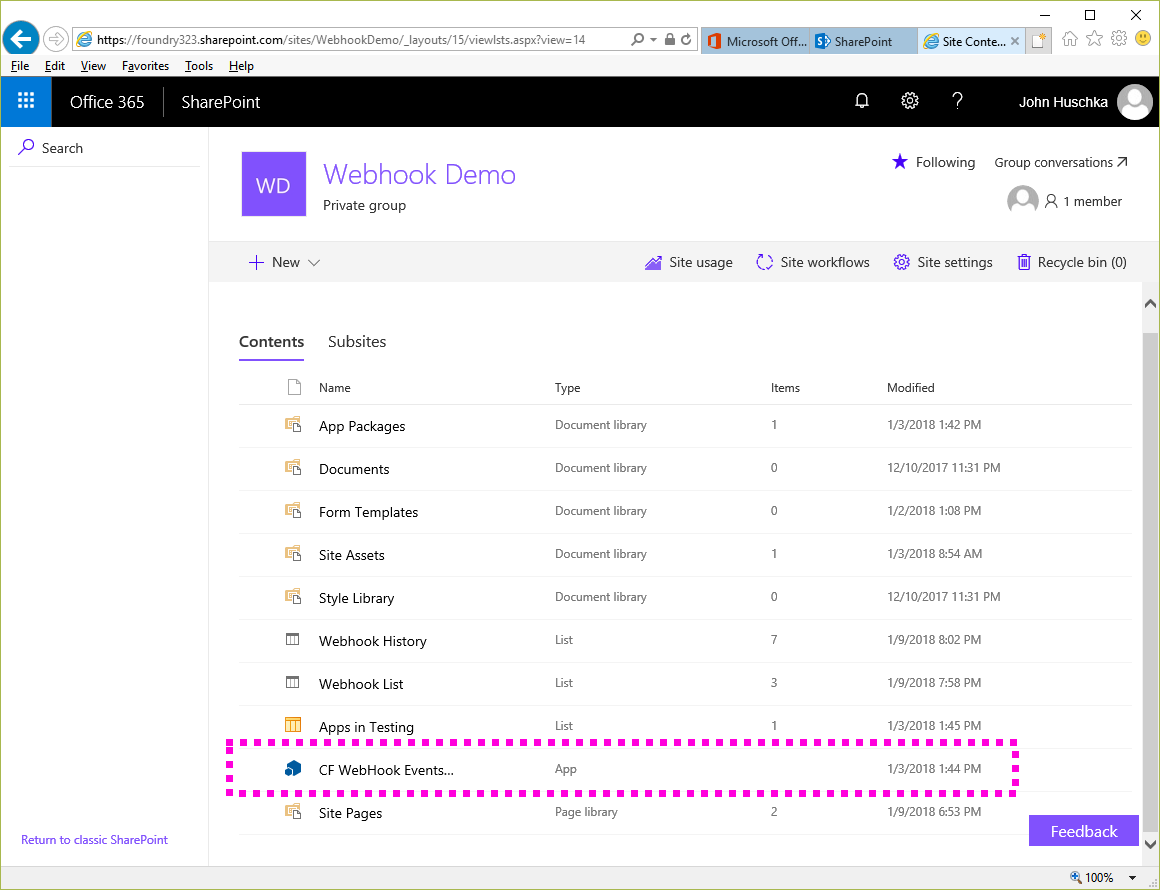
Ultimately, you should end-up with a CF WebHook Event Handler add-in installed within your SharePoint web site and appearing in Site Contents
You can see a list of registered add-in packages within a SharePoint site at /_layouts/15/AppPrincipals.aspx. You can lookup the associated app title, app domain, etc within SharePoint at /_layouts/15/appinv.aspx.
Add-in client secrets (passwords) expire, and it is a bit of work to refresh them.
See https://docs.microsoft.com/en-us/sharepoint/dev/sp-add-ins/replace-an-expiring-client-secret-in-a-sharepoint-add-in.
This can apparently take some time (maybe 12 hours) to take effect.