![]()
We are currently using Determined AI to manage our GPU Cluster.
You can open the dashboard (a.k.a WebUI) by the following URL and log in:
Determined is a successful (acquired by Hewlett Packard Enterprise in 2021) open-source deep learning training platform that helps researchers train models more quickly, easily share GPU resources, and collaborate more effectively.
You can check the realtime utilization of the cluster in the grafana dashboard.
You need to ask the system admin (Yufan Wang) for your user account.
Tips
- Once getting your cluster account, you can configure your own job environment. Some guidelines can be found here.
- We have a basic GPU job monitor, and the reserved container will be terminated if all GPUs are idle for 2 hours.
- We notify the container status through Slack. If you do not want the notification in the Slack channel disturbs you, please consider this settings
The WebUI will automatically redirect users to a login page if there is no valid Determined session established on that browser. After logging in, the user will be redirected to the URL they initially attempted to access.
Users can also interact with Determined using a command-line interface (CLI). The CLI is distributed as a Python wheel package; once the wheel has been installed, the CLI can be used via the det command.
You can use the CLI either on the login node or on your local development machine.
-
Installation
The CLI can be installed via pip:
pip install determined
-
(Optional) Configure environment variable
If you are using your own PC, you need to add the environment variable
DET_MASTER=10.0.2.168. If you are using the login node, no configuration is required, because the system administrator has already configured this globally on the login node.For Linux, *nix including macOS, if you are using
bashappend this line to the end of~/.bashrc(most systems) or~/.bash_profile(some macOS);If you are using
zsh, append it to the end of~/.zshrc:export DET_MASTER=10.0.2.168For Windows, you can follow this tutorial: tutorial
-
Log in
In the CLI, the user login subcommand can be used to authenticate a user:
det user login <username>
Note: If you did not configure the environment variable, you need to specify the master's IP:
det -m 10.0.2.168 user login <username>
Users have blank passwords by default. If desired, a user can change their own password using the user change-password subcommand:
det user change-password
Here is a template of a task configuration file, in YAML format:
description: <task_name>
resources:
    slots: 1
    resource_pool: 64c128t_512_3090
    shm_size: 4G
bind_mounts:
    - host_path: /home/<username>/
      container_path: /run/determined/workdir/home/
    - host_path: /labdata0/<project_name>/
      container_path: /run/determined/workdir/data/
environment:
    image: determinedai/environments:cuda-11.3-pytorch-1.10-tf-2.8-gpu-0.19.4
Notes:
- You need to change the
task_nameanduser_nameto your own - Number of
resources.slotsis the number of GPUs you are requesting to use, which is set to1here resources.resource_poolis the resource pool you are requesting to use. Currently, we have two resource pools:64c128t_512_3090and64c128t_512_4090.resources.shm_sizeis set to4Gby default. You may need a greater size if you use multiple dataloader workers in pytorch, etc.- In
bind_mounts, it maps the dataset directory (/labdata0) into the container. - In
environment.image, an official image by Determined AI is used. Determined AI provides Docker images that include common deep-learning libraries and frameworks. You can also develop your custom image based on your project dependency, which will be discussed in this tutorial: Custom Containerized Environment - How
bind_mountsworks:

Save the YAML configuration to, let's say, test_task.yaml. You can start a Jupyter Notebook (Lab) environment or a simple shell environment. A notebook is a web interface and thus more user-friendly. However, you can use Visual Studio Code or PyCharm to connect to a shell environment[3], which brings more flexibility and productivity if you are familiar with these editors.
For notebook (try to avoid using notebook through DeterminedAI, due to some privacy issues):
det notebook start --config-file test_task.yamlFor shell (strongly recommended):
det shell start --config-file test_task.yamlIn order to ensure a pleasant environment, please
- avoid being a root user in your tasks/pods/containers.
- carefully check your code and avoid occupying too many CPU cores.
- try to use
OMP_NUM_THREADS=2 MKL_NUM_THREADS=2 python <your_code.py>. - include your name in your <task_name>.
- ...
You are encouraged to check out more operations of Determined.AI in the API docs, e.g.,
det taskdet shell open [task id]det shell kill [task id]
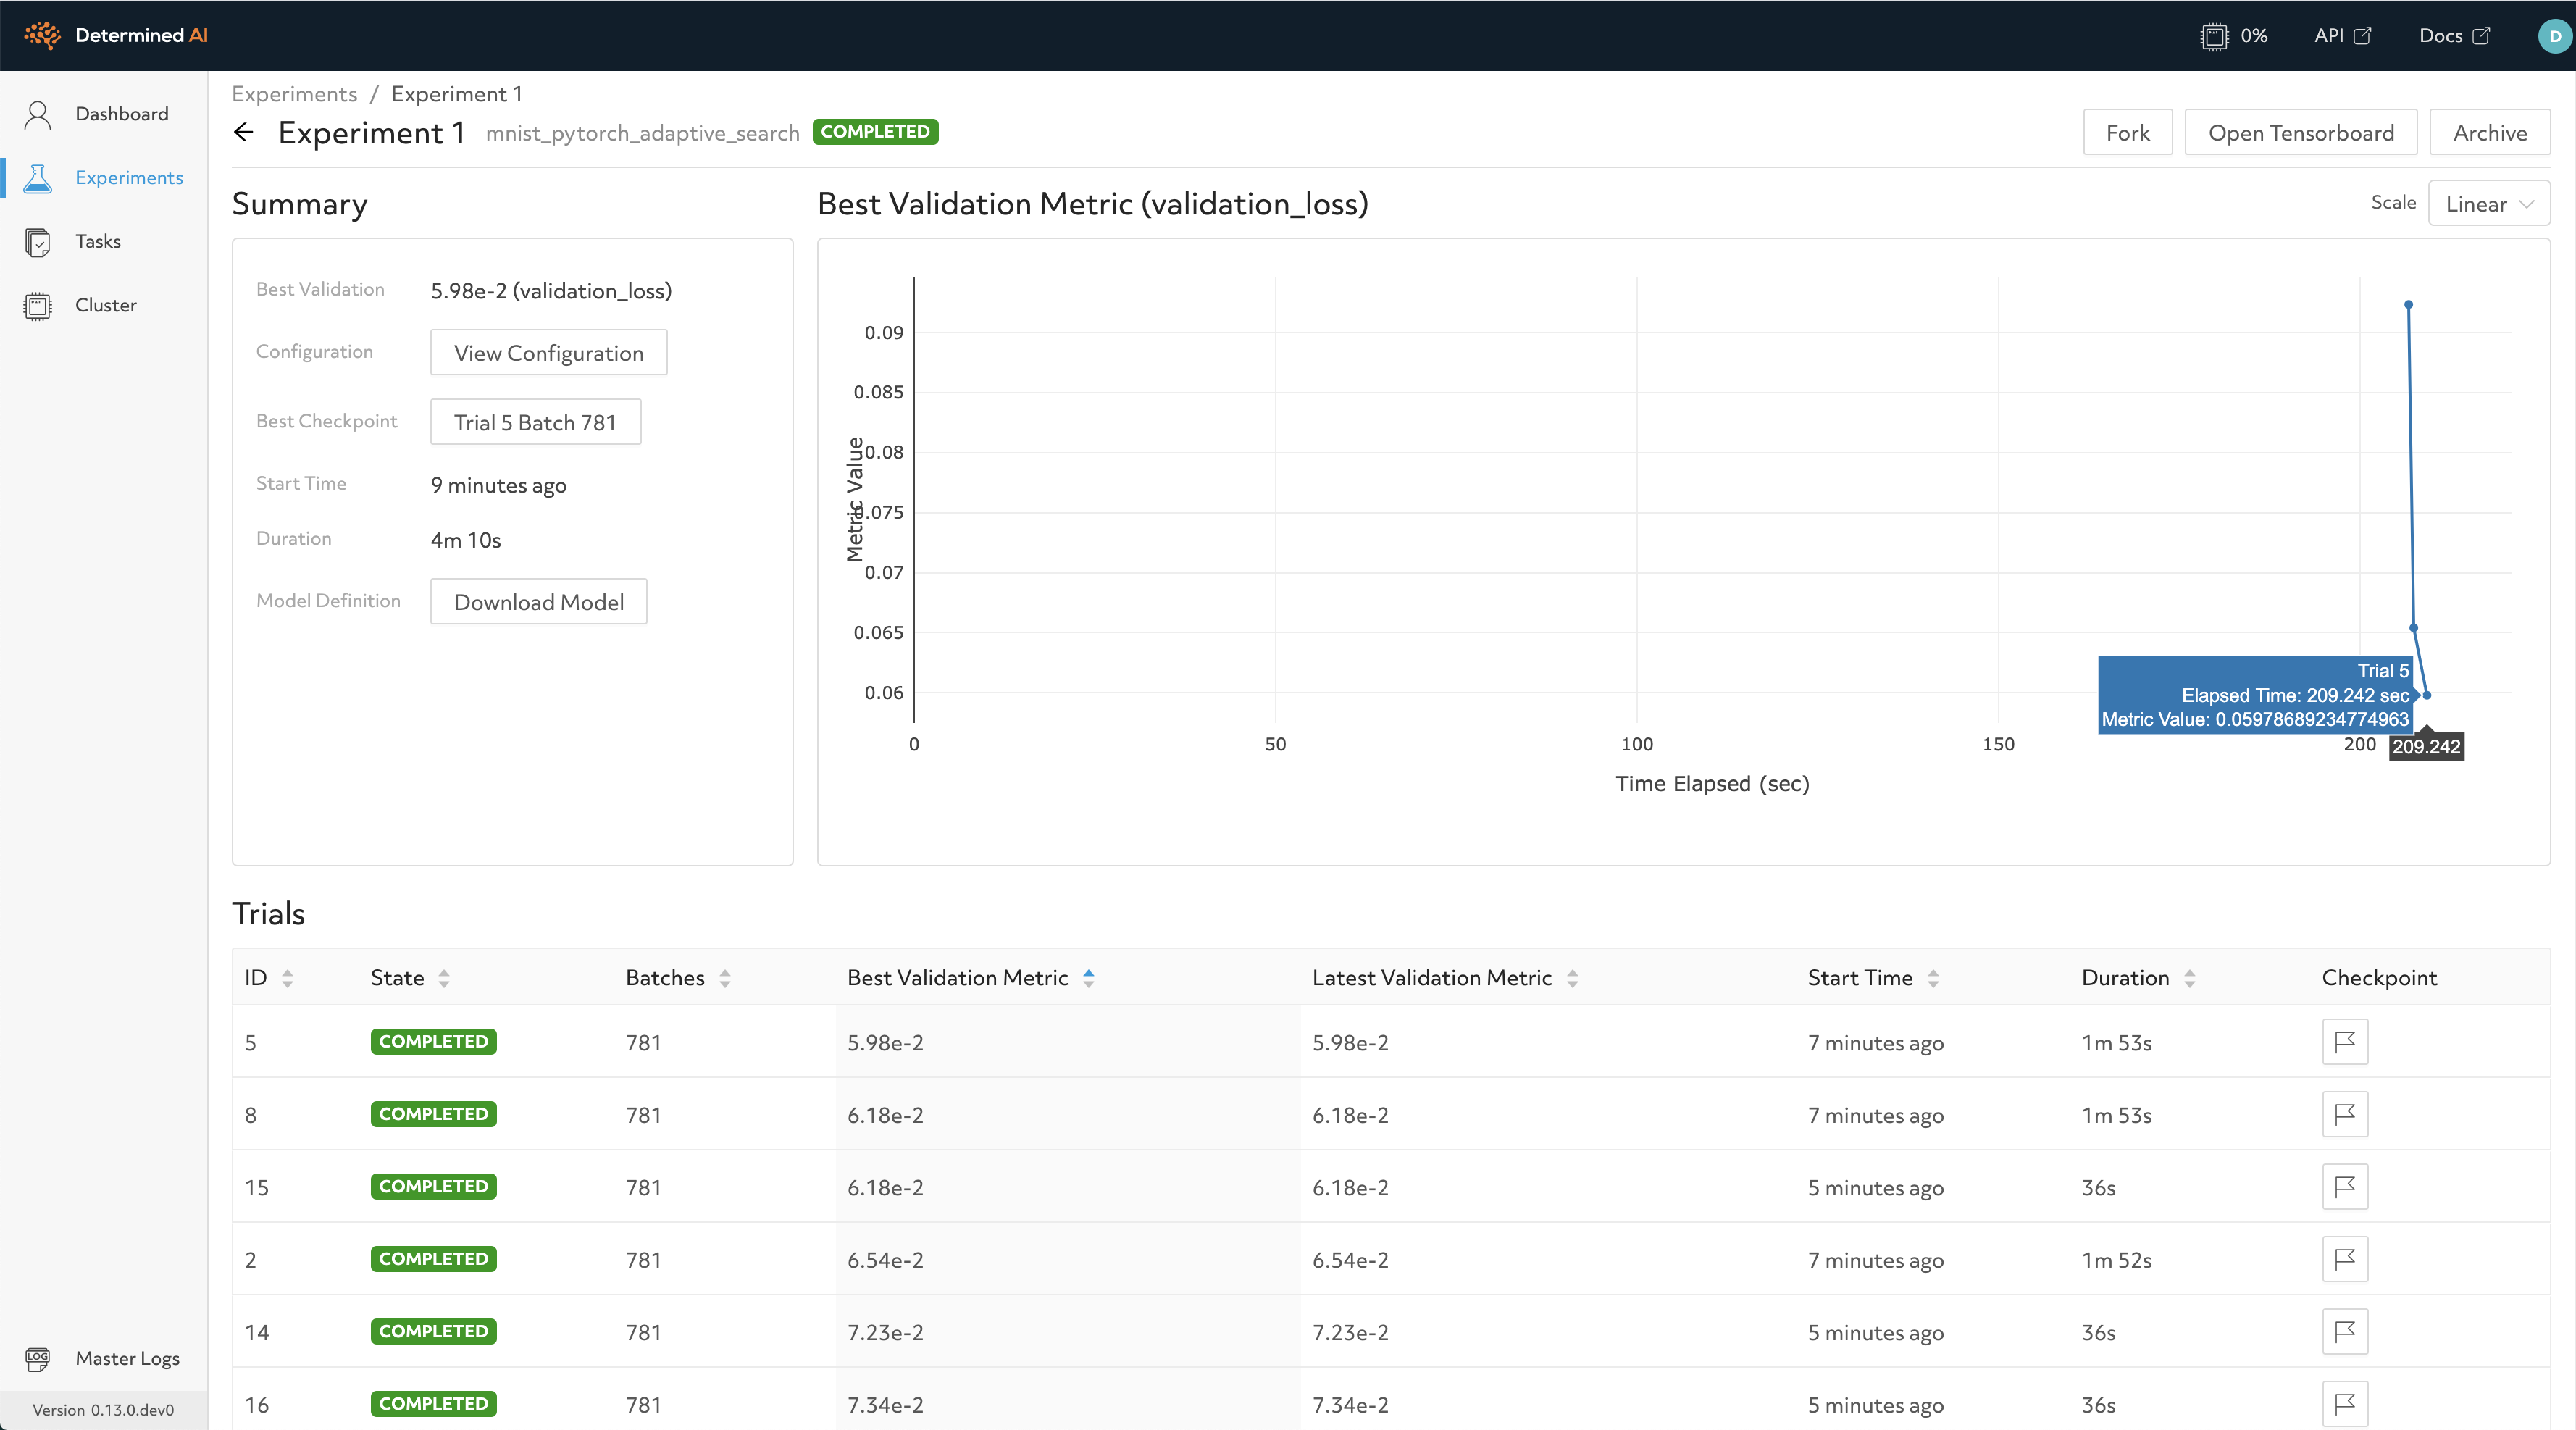
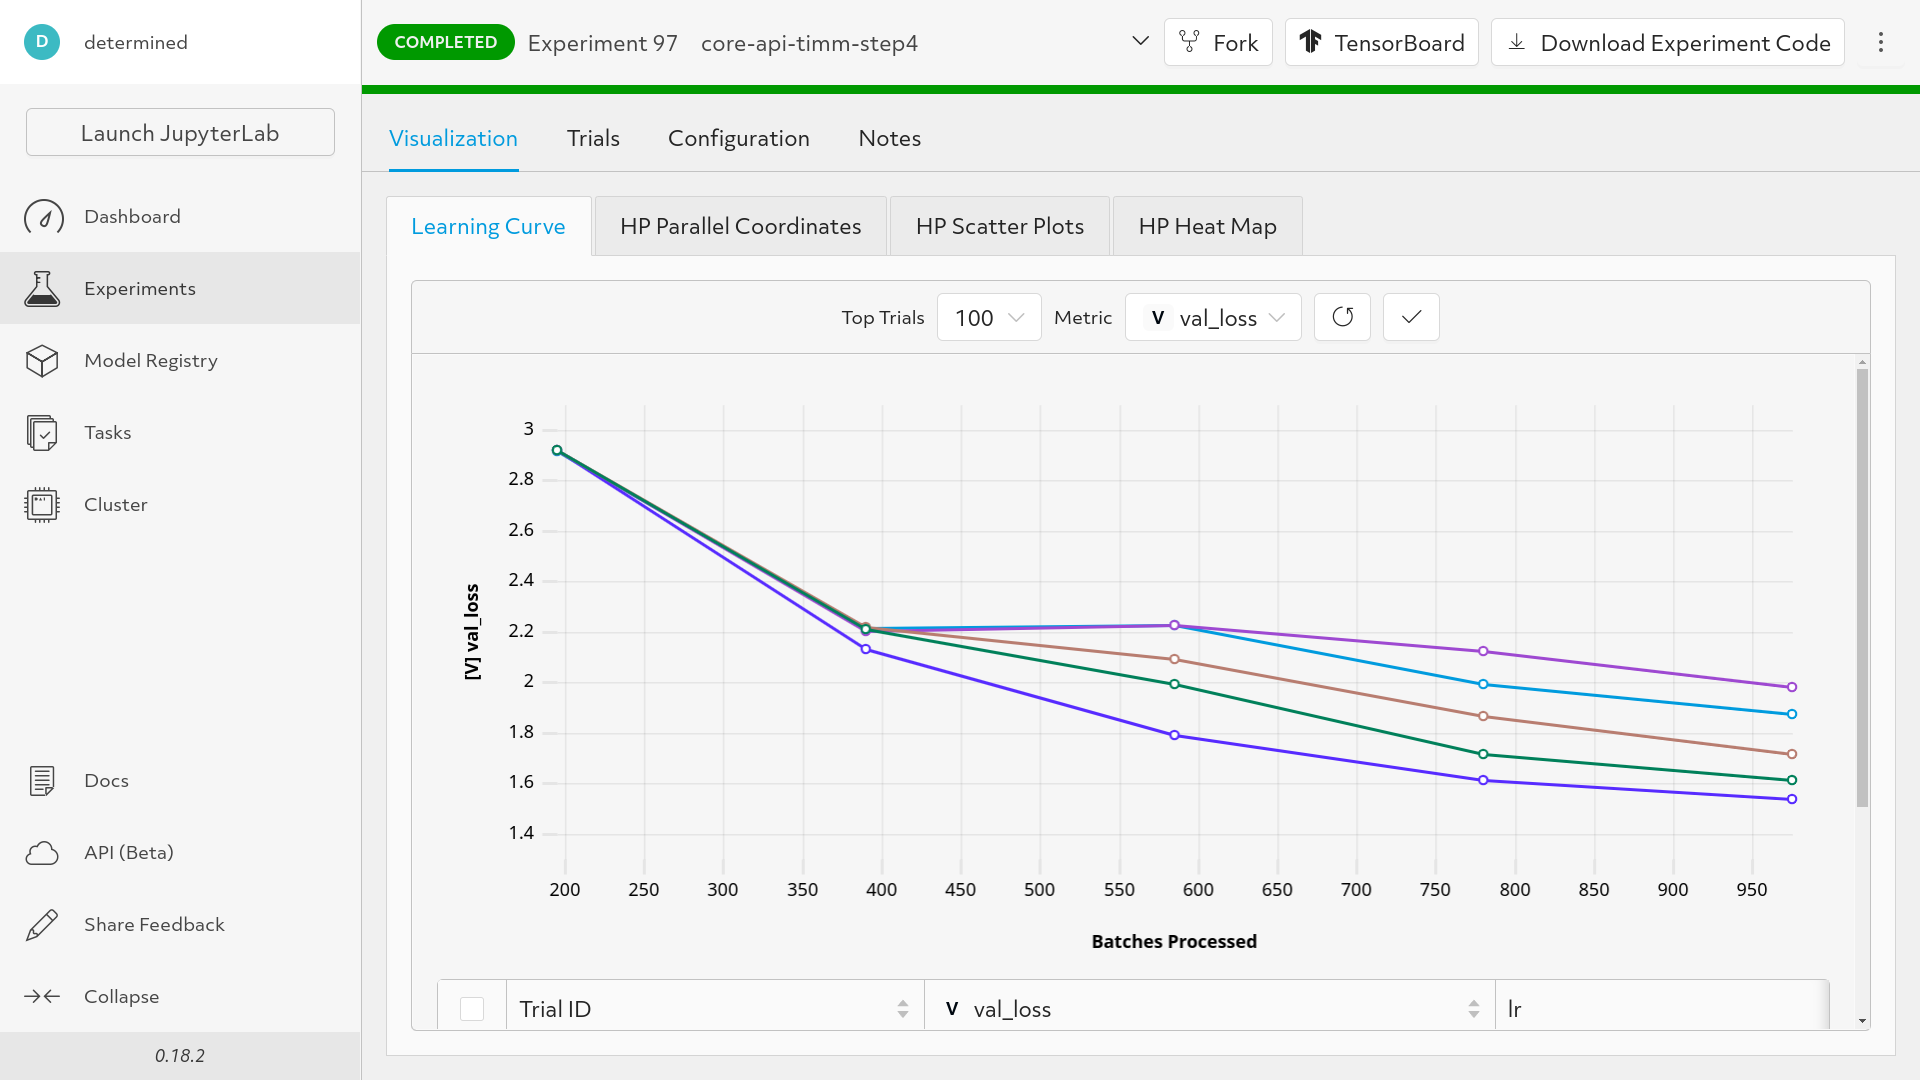
Now you can see your task pending/running on the WebUI dashboard. You can manage the tasks on the WebUI.

You can use Visual Studio Code or PyCharm to connect to a shell task.
You also need to install and use determined on your local computer, in order to get the SSH IdentityFile, which is necessary in the next section.
-
First, you need to install the Remote-SSH plugin.
-
Check the UUID of your tasks:
det shell list
-
Get the ssh command for the task with the UUID above (it also generates an SSH IdentityFile on your PC):
det shell show_ssh_command <UUID>
The results should follow this pattern:
ssh -o "ProxyCommand=<YOUR PROXY COMMAND>" \
    -o StrictHostKeyChecking=no \
    -tt \
    -o IdentitiesOnly=yes \
    -i <YOUR KEY PATH> \
    -p <YOUR PORT NUMBER> \
    <YOUR USERNAME>@<YOUR SHELL HOST NAME (UUID)>
-
Add the shell task as a new SSH task:
Click the SSH button on the left-bottom corner:

Select connect to host -> +Add New SSH Host:


Paste the SSH command generated by
det shell show_ssh_commandabove in to the dialog window:
Then choose your ssh configuration file to update:

You can continue to edit your ssh configuration file, e.g. add a custom name:


-
Check the UUID of your tasks:
det shell list
-
Get the new ssh command:
det shell show_ssh_command <UUID>
-
Replace the old UUID with the new one (with
Ctrl + H):

-
As of the current version, PyCharm lacks support for custom options in SSH commands via the UI. Therefore, you must provide via an entry in your
ssh_configfile. You can generate this entry by following the steps in First-time setup of connecting VS Code to a shell task. -
In PyCharm, open Settings/Preferences > Tools > SSH Configurations.
-
Select the plus icon to add a new configuration.
-
Enter
YOUR SHELL HOST NAME (UUID),YOUR PORT NUMBER(fill in22here), andYOUR USERNAMEin the corresponding fields. (P.S. you can chageYOUR SHELL HOST NAME (UUID)into your custom one configured in the SSH config identity, e.g.TestEnv, as shown above) -
Switch the Authentication type dropdown to OpenSSH config and authentication agent.
-
You can hit
Test Connectionto test it. -
Save the new configuration by clicking OK. Now you can continue to add Python Interpreters with this SSH configuration.

You will need to do the port forwarding from the task container to your personal computer through the SSH tunnel (managed by determined) when you want to set up services like tensorboard, etc, in your task container.
Here is an example. First launch a notebook or shell task with the proxy_ports configurations:
environment:
    proxy_ports:
      - proxy_port: 6006
        proxy_tcp: true
where 6006 is the port used by tensorboard.
Then launch port forwarding on you personal computer with this command:
python -m determined.cli.tunnel --listener 6006 --auth 10.0.2.168 YOUR_TASK_UUID:6006Remember to change YOUR_TASK_UUID to your task's UUID.
Now you can open the tensorboard (http://localhost:6006) with your web browser.
Reference: Expossing custom ports - Determined AI docs
(TBA)
