Per default elevation is srtm and if you remove the config line you
automatically disable it and reduce storange and RAM usage a bit.
You can also change it to graph.elevation.provider: cgiar. Or use other possibilities srtm, gmted, sonny,
multi (combined cgiar and gmted), multi3 (combined cgiar, gmted and sonny) or pmtiles.
Then GraphHopper will automatically download the necessary data for the area
(except for sonny and pmtiles) and include elevation for all vehicles making also the distances a bit more precise.
The default cache directory /tmp/<provider name> will be used. For large areas it is highly recommended to
use a SSD disc, thus you need to specify the cache directory:
graph.elevation.cache_dir: /myssd/ele_cache/
The average_slope and max_slope attributes of a road segment can be used to make your routing
elevation-aware, i.e. to prefer or avoid, to speed up or slow down your vehicle based on the elevation
change. See the custom model feature.
All elevation providers create an internal custom storage format for faster
access while import. The default behaviour is that these cache files are not
deleted after GraphHopper finishes because on a new import they can be
reused. To change this behaviour and delete them before exit specify:
graph.elevation.clear: true
All should work automatically, but you can tune certain settings like the location where the files are
downloaded and e.g. if the servers are not reachable, then you set:
graph.elevation.base_url
For CGIAR the default URL is https://srtm.csi.cgiar.org/wp-content/uploads/files/srtm_5x5/TIFF/
and this is only accessibly if you specify the full zip file.
If the geographical area is small and you need a faster import you can change the default MMAP setting to:
graph.elevation.dataaccess: RAM_STORE
For sonny and pmtiles you need to download the data first. Read more
about the details in this pull request for sonny
and this pull request for pmtiles.
The mapterhorn project did an exceptional work and created a pipeline to collect many raster tiles in a convenient single file (protomaps tiles). As it contains many sources the attribution is a longer list that you can find here.
When you downloaded the file you specify it in the config.yml like this:
graph.elevation.provider: pmtiles
graph.elevation.pmtiles.location: /data/pmtiles.pmtiles
graph.elevation.pmtiles.zoom: 11
graph.elevation.cache_dir: /tmp/pmtiles-cache
You can also cut a geographical area using the official pmtiles tool or cut out certain zoom levels with a simple go script to reduce file size by a lot.
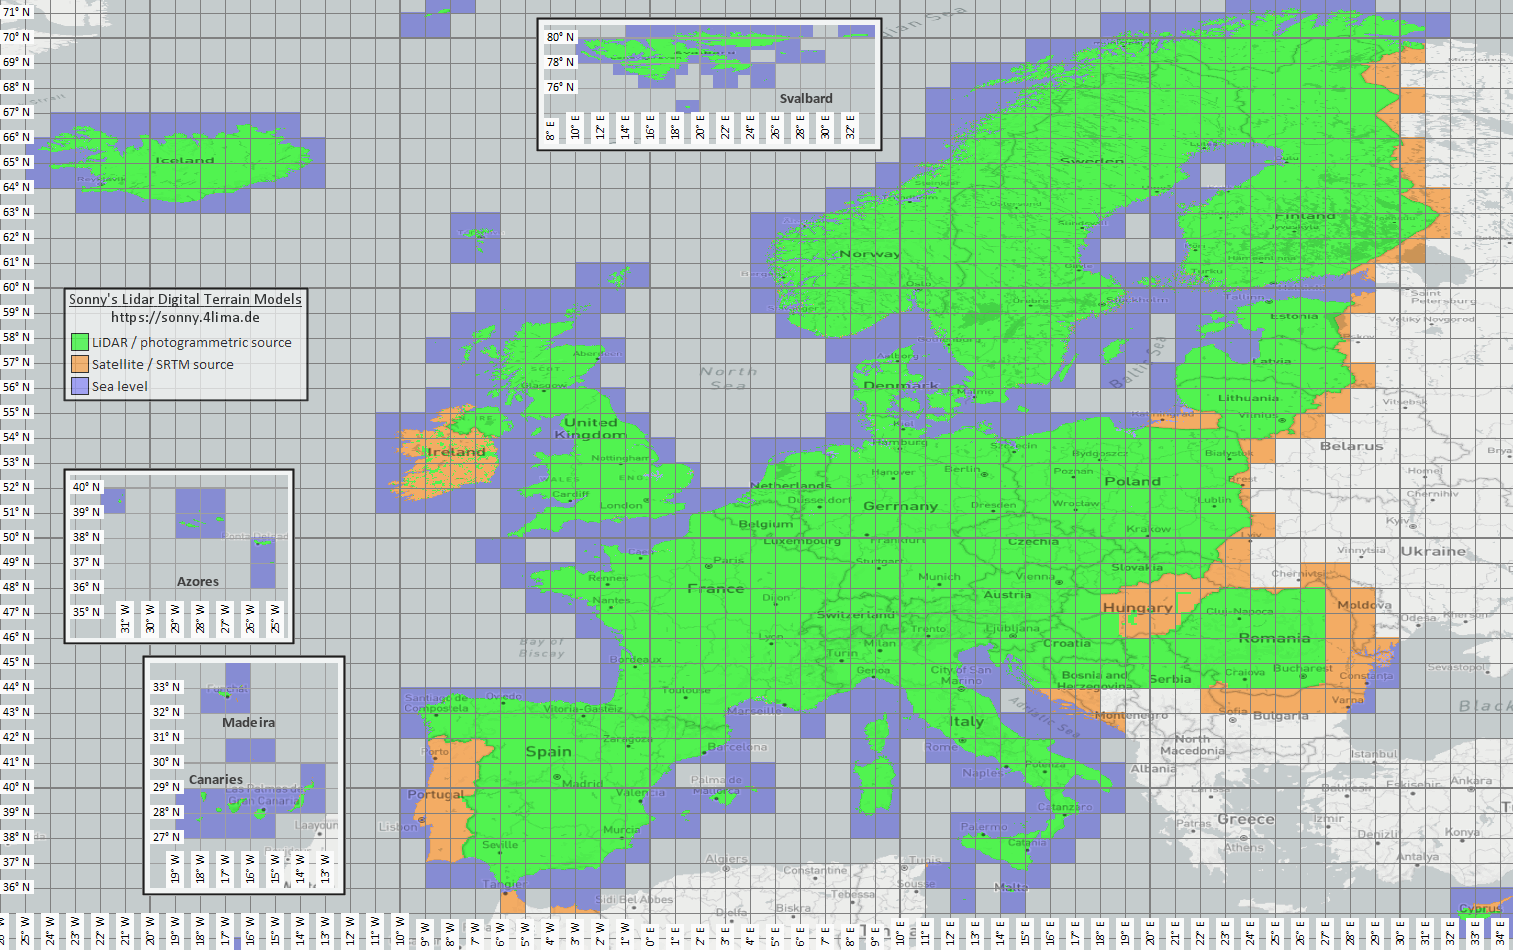
Sonny's LiDAR Digital Terrain Models are available for Europe only, see https://sonny.4lima.de/.
It is a very high resolution elevation data set, but it is not free to use! See the discussion at
graphhopper#2823.
The DTM 1" data is provided on a Google Drive https://drive.google.com/drive/folders/0BxphPoRgwhnoWkRoTFhMbTM3RDA?resourcekey=0-wRe5bWl96pwvQ9tAfI9cQg.
From there it needs to be manually downloaded and extracted into a persistent cache directory. Automatic download
is not supported due to Google Drive not providing support for hyperlinks on to the DTM data files.
The cache directory is expected to contain the DTM data files with the naming convention like
"N49E011.hgt" for the area around 49°N and 11°E.
Sonny's LiDAR Digital Terrain Model sonny only works for countries in Europe, which are fully covered
by the Sonny DTM 1" data. See https://sonny.4lima.de/map.png for coverage. In case the covered sonny
data area does not match your graphhopper coverage area, make sure to use the multi3 elevation provider.
Integrating your own elevation data requires you to implement the ElevationProvider interface and then specify it via GraphHopper.setElevationProvider. Have a look in the existing implementations for a simple overview of caching and DataAccess usage.