Keep in mind that this project is a free-time project and still work in progress, so you may encounter bugs or missing features.
You are free to use it as-is and feel free to open pull requests for fixes or new features
A real-time dashboard for monitoring and managing a TeamSpeak 6 server via the SSH ServerQuery interface.
Built with Node.js (Express + Socket.IO + SSH2) on the backend. React + TypeScript + HeroUI + Tailwind on the frontend.
- Live client list with automatic updates every few seconds (Thanks to @Leon for the channel list part)
- Socket.IO real-time bridge between backend and frontend
- Modern UI built with HeroUI + TailwindCSS (Modern but empty)
- Works out of the box with any TS6 server with SSH Query enabled
- Node.js (v22+ recommended)
- pnpm (optional but faster than npm)
- Basic knowledge of JavaScript/TypeScript and the terminal
git clone https://github.com/xRiddiK/ts6-query-web-interface.gitBackend
cd backend
npm install
# or
pnpm install
Frontent
cd frontend
npm install
# or
pnpm install
First make sure you setup your TeamSpeak 6 Server inclusive SSH login correctly.
you can test it locally via PowerShell (on Windows) with:
ssh -p 10022 serveradmin@<ts6-server-ip>
More information at TeamSpeak 6 Server Beta
If that works you can continue with the backend.
In the backend folder, rename:
.env.example → .env
The .env should look like this:
TS_HOST=127.0.0.1
TS_PORT=10022
TS_USER=serveradmin
TS_PASS=supersecretpassword
(TS_PASS = query admin-password) adjust it to your data.
The backend is now fully setup.
you can test it with
node server.js
Check that it’s working: Visit
Or look into tsquery.log for activity.
In the frontend folder, rename:
.env.example → .env
The .env should look like this:
VITE_API_URL=http://localhost:8080
If your backend runs on another host, update the URL accordingly.
Inside frontend/src/App.tsx, find:
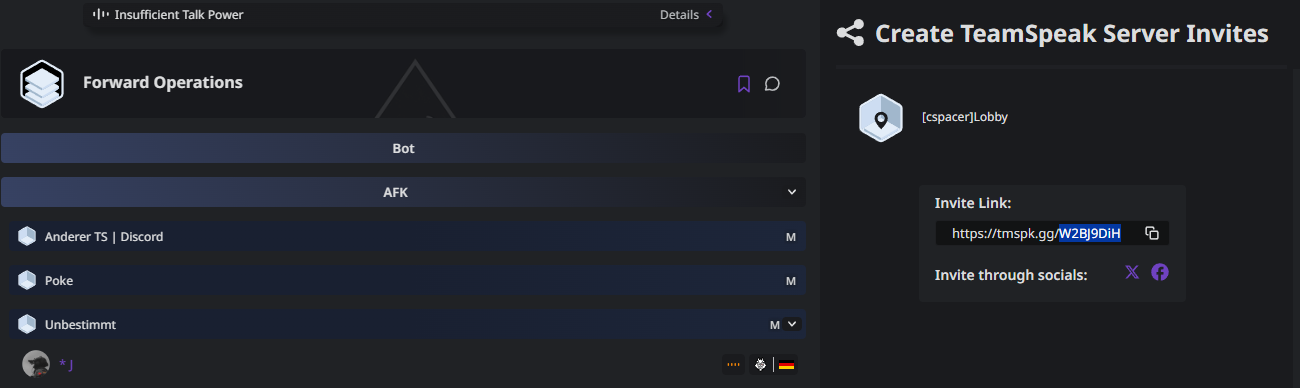
const tsLink = "https://tmspk.gg/56zg425"; // replace with your ts link
Replace it with your actual TeamSpeak invite link.
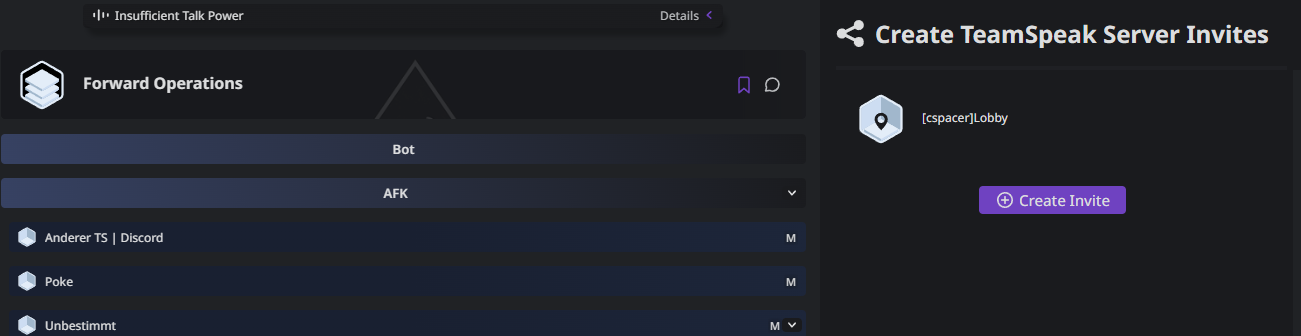
Right-click your server → “Create Invite” → “Create” again → copy the link → paste it there. ("detailed" step by step below)
Then start the frontend:
pnpm dev
# or
npm run dev
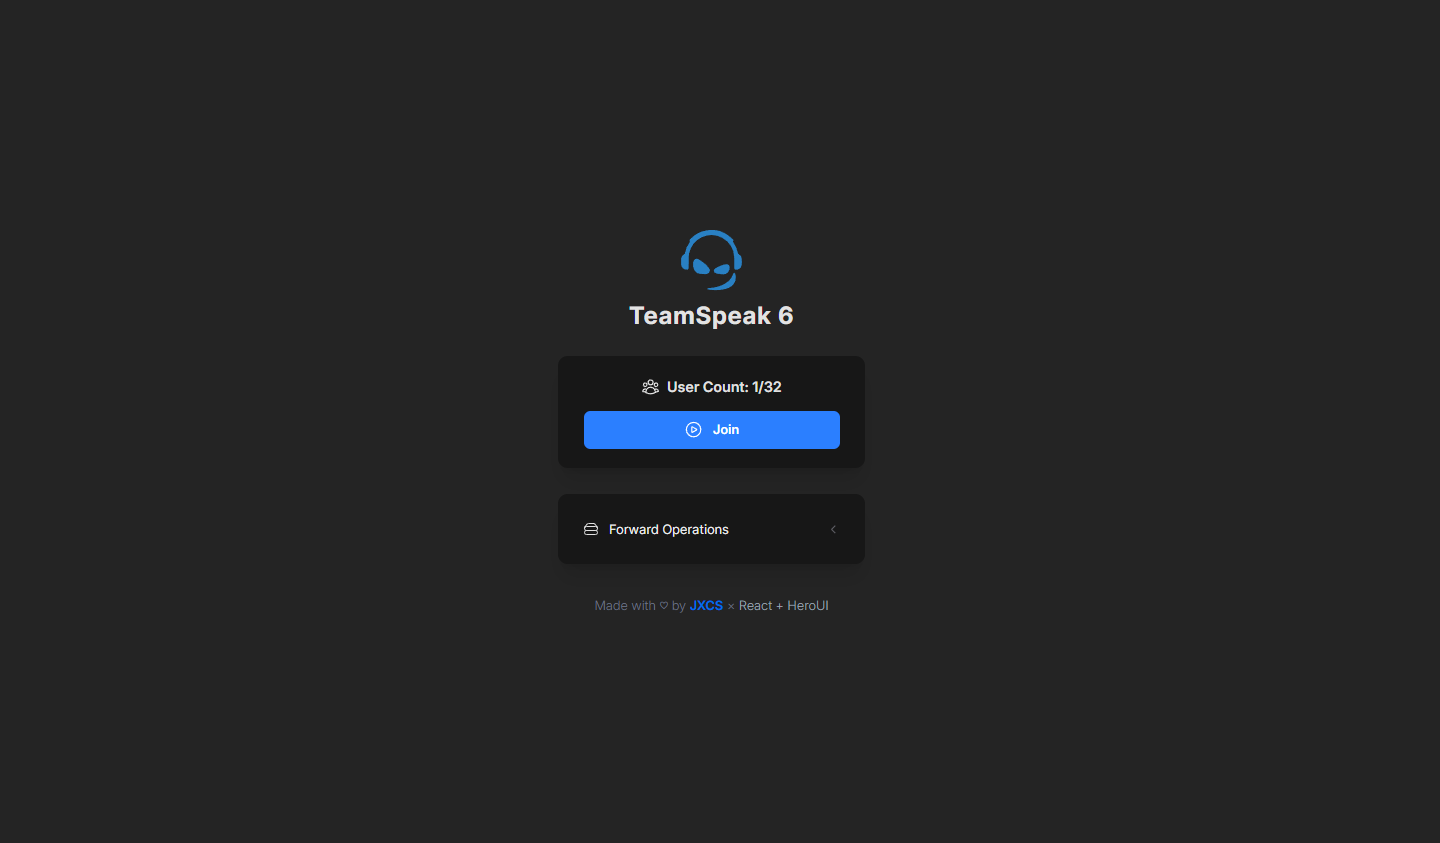
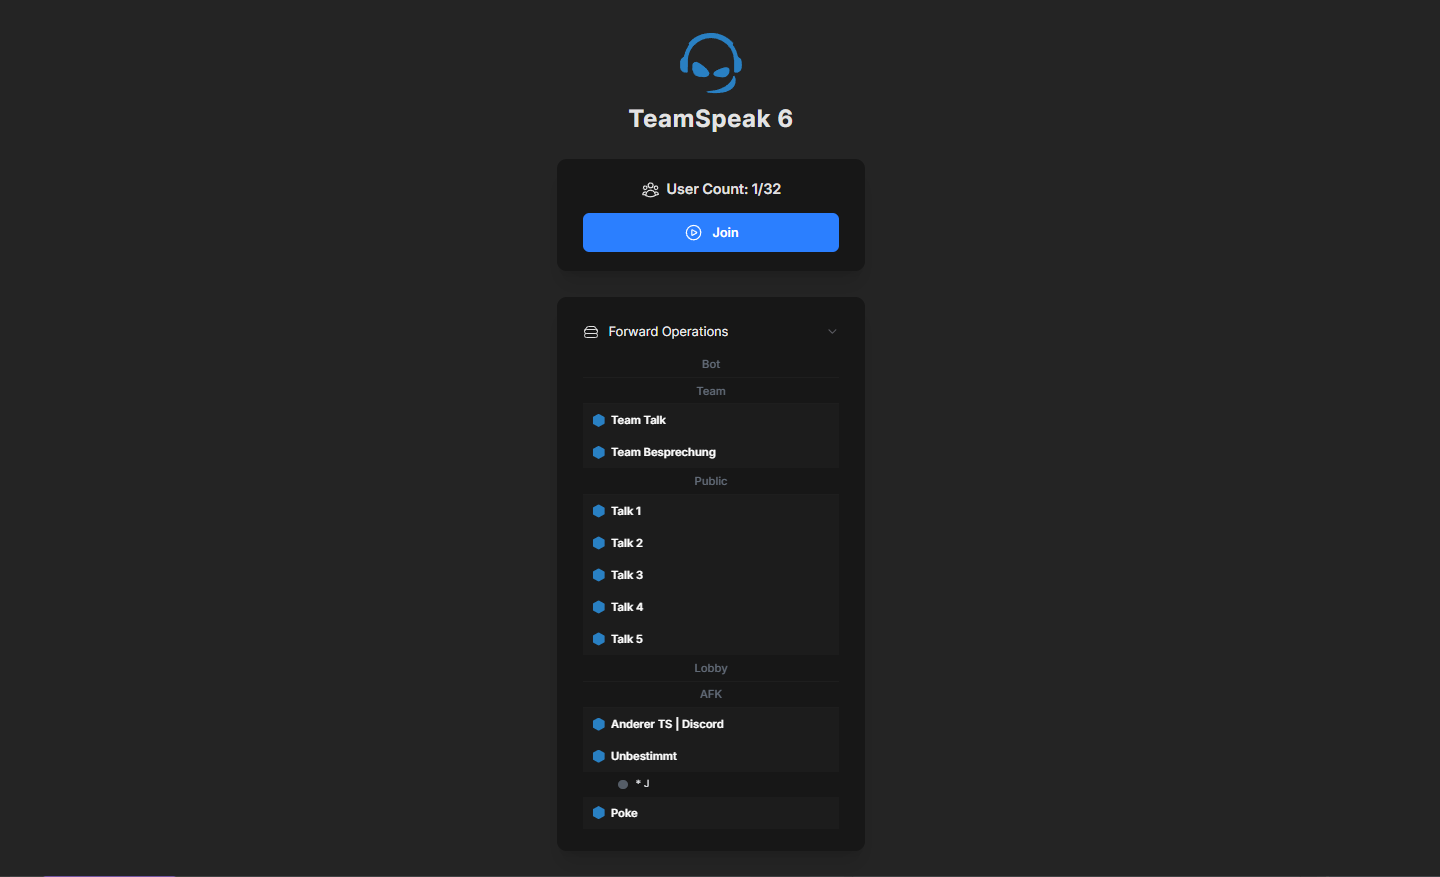
Open the App and you should see things

# example
VITE_TS_INVID=W2Bj9DiH