Custom Labels
Custom labels offer the ability to customise the mark-up for each option in the Editor Control; by default the label value is supplied by the Data Source, but this can be overridden when specifying a Label Macro in the configuration:

When a macro is set, it's executed for each option in turn, and any resulting response is used for the label (if an empty response is returned then the option is removed - this has an additional benefit of being able to filter with custom logic).
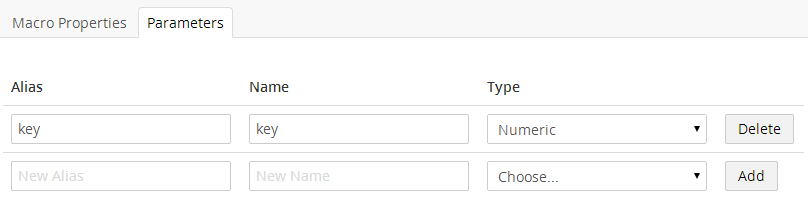
Macros, when used for a Custom Label, can use any of the following optional parameters:
- key - the key value of the current option being processed
- keys - the full collection of all option keys
- counter - the index of the current option being processed
- total - the total number of options
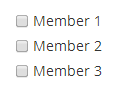
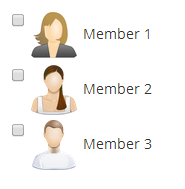
As an example we'll use an Xml CheckBox Picker, configured to select Members, and use a Custom Label to add a profile image.

@inherits Umbraco.Web.Macros.PartialViewMacroPage
@{
    IPublishedContent member = Umbraco.TypedMember(Model.MacroParameters["key"]);
    if (member != null)
    {
        <img src="@(member.GetPropertyValue<string>("profilePicture"))" />
        <span>@member.Name</span>
    }
}
